I've never been a huge fan of the store bought loaves of bread. You know, the kind sold in the massive bread aisle, with a hundred different kinds of sliced, plastic wrapped bread that was baked who knows when. When I was little, my mom would often bake homemade bread. I remember the cozy days that we would mix the water, yeast, honey and flour, knead it, let it rise, shape it into loaves, let it rise again, and finally, bake it. There is nothing like hot bread, straight out of the oven, topped with a little butter and honey. After I lived on my own, I made my own bread once or twice, but could rarely find the time to devote four or five hours to it. I would sometimes buy the fresh baked bread from the bakery, but not as an everyday thing.
 |
| Fresh Baked Goodness - our first loaf |
For K, good bread is a necessary part of a balanced diet. So, after we started living together, there was always bakery quality bread in the house. I'm a convert to delicious, fresh baked, artisinal bread. But honestly, we were tired of paying three to five dollars per loaf. K had suggested an experiment in making our own bread, but I was skeptical. Knowing the time commitment to making your own bread, I didn't think it was realistic for us to do it on a regular basis. So when I saw a recipe on Pinterest that claimed "Artisan bread in five minutes a day!" I was curious.
The recipe I used was from the blog
Alexandra's Kitchen, and she got it from a book called "
Artisan Bread in Five Minutes a Day". This book came out in 2007, and has been all over the food blogosphere ever since. It is unbelievable how easy this bread is. In fact, it is so easy that both K and I were convinced that it was going to be a failure. We were very pleasantly surprised to find out that we were wrong, and this is some of the best bread we have ever had. Keep in mind that the "five minutes" is active time. There is still some resting time for the bread, but your hands-on time is just a few minutes.
Artisan Bread in Five
(Makes 3-4 loaves)
3 cups lukewarm water
1½ T. active dry yeast (About two packets)
1½ T. kosher salt (reduce by half if you are using another kind of salt)
29.25 oz. unsifted, unbleached, all-purpose white flour (6 ½ cups if you don't have a food scale)
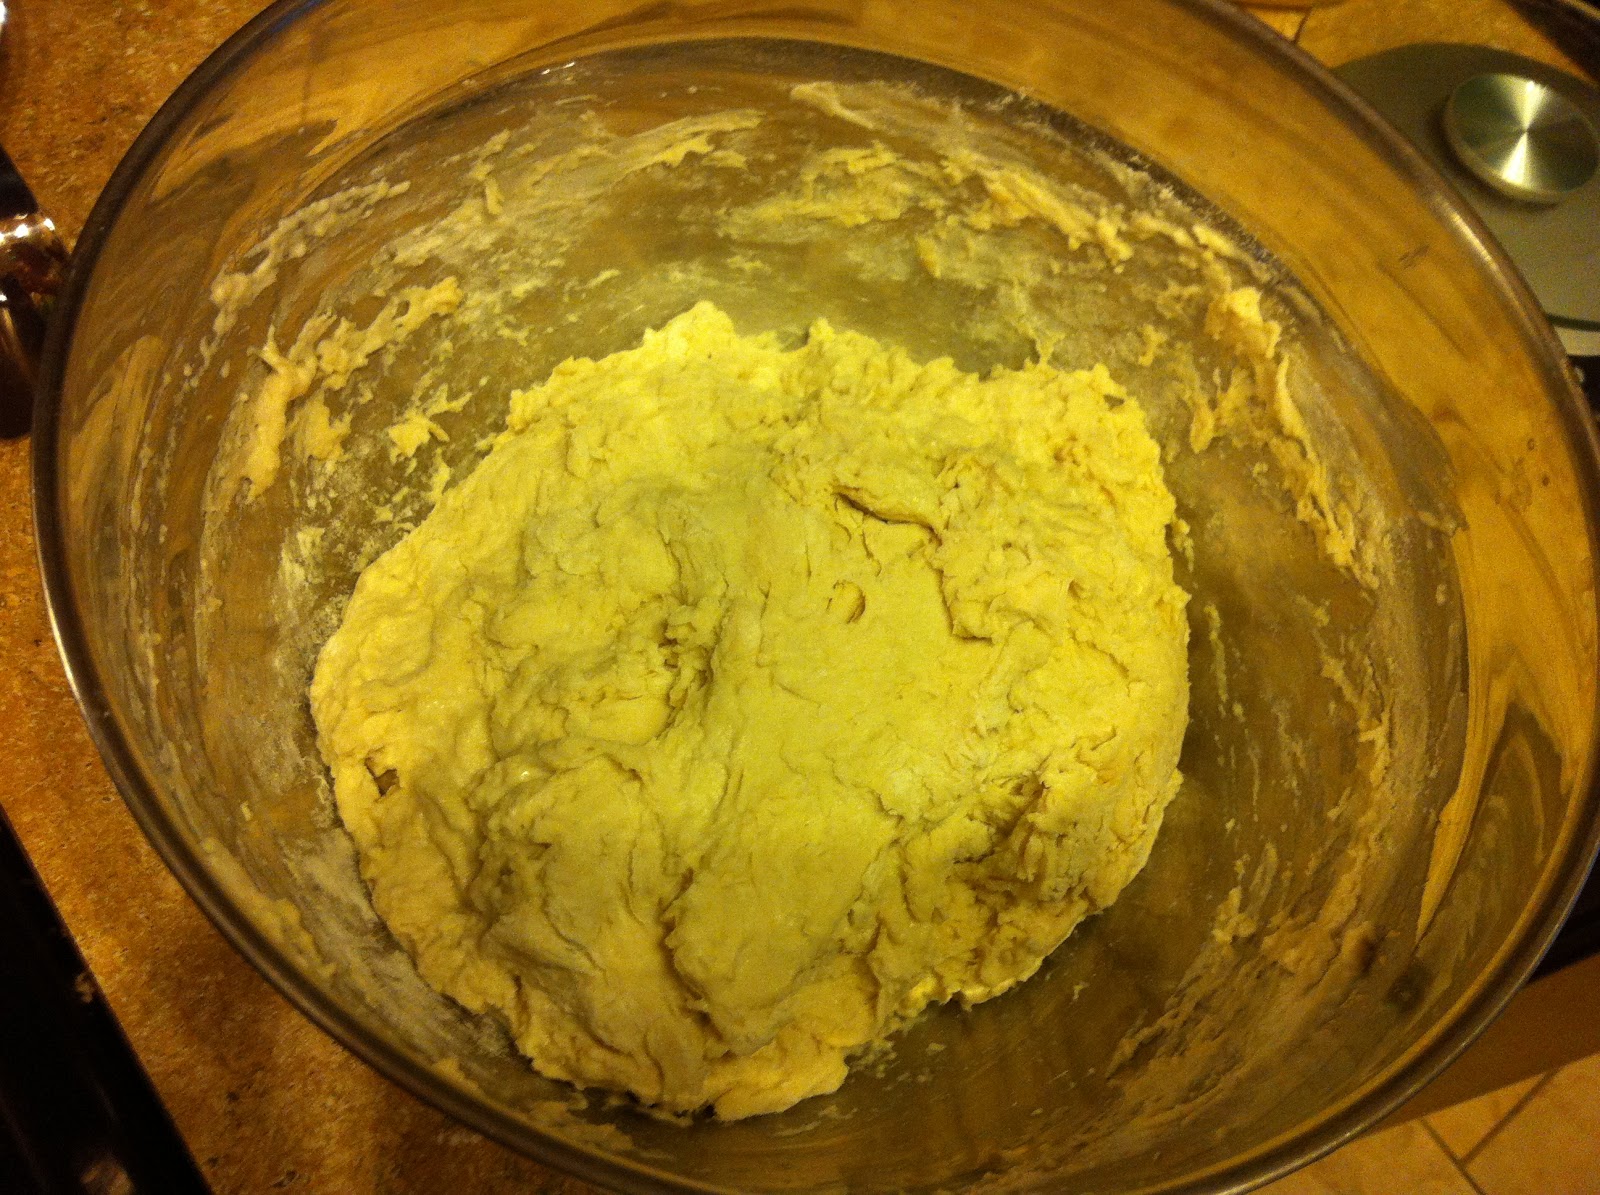
Place water, yeast and salt in a large bowl. Make sure your water isn't too hot so that you don't kill the yeast, it should be just slightly warmer than body temperature. Add all of the flour, and mix to combine. Mix just until there are no dry flour spots. Resist the urge to knead. I usually end up using my hands to do the mixing because it is just easier. The dough will be very sticky, this is normal.
 |
| Mixed Dough |
Cover with a loose fitting lid or clean kitchen towel and allow to rise at room temperature for two hours. After the two hours put it in the fridge for 2 more hours (The two hours in the fridge will make the dough easier to work with, but you can actually bake your loaf before this step if you just can't wait). Now you are free to bake your bread, or you can leave it in the fridge until you have time to bake a loaf.
 |
| Covered with a kitchen towel |
When you are ready to bake, remove about a quarter of the dough (use a serrated knife or just use your hands) and put the rest back in the fridge. The original recipe says to place on a cornmeal covered pizza peel, but I don't have a pizza peel and I have never used cornmeal. If you have it, use it, but your bread will be fine without it. At this point you should decide what you are baking your bread in - or on. You can use a pizza stone, a cookie sheet, a regular loaf pan, or a pyrex baking dish. If you are using a pizza stone or cookie sheet, add some flour to the dough and quickly shape it into a ball by stretching the dough and tucking the ends under to form a ball. This should take less than a minute - remember, you aren't kneading. Place on the cornmeal or flour covered pizza peel OR a piece of parchment paper. Allow to rest for 40 minutes. Preheat your oven to 450 with the pizza stone or cookie sheet inside so that it can preheat as well.
 |
| Resting Dough Ball |
ALSO: Place another baking dish in the oven filled with water. This is your steam tray and it is important. I would have skipped this step, but luckily K had read about it, and so he made sure we used one. This is what makes the crust so crusty, don't skip this step. I just use a metal 8x8 baking dish filled with water, and I put it on the bottom rack of the oven. As you are baking, make sure the water hasn't evaporated (this is why filling the dish about 3/4 is a good idea)
If you want to, you can use a regular loaf pan or a one quart baking dish. If I am doing that, I just place the dough directly into the buttered pan and allow it to rest there. After 40 minutes of rest time, slash the top of your bread with a serrated knife, or make it easier on yourself and use some kitchen scissors to cut three diagonal cuts into the bread. This is just to let steam escape, and it keeps it looking pretty.
Bake at 450 for 30-35 minutes, depending on your pan and oven. Just keep an eye on it by looking at it through your oven window. When it looks nice and brown on top, give it a tap to make sure it is firm. Remove from oven and place on a cooling rack. If you used a pan, take it out of the pan right away to avoid sweating (that makes it mushy and not good). Allow to cool as long as you can stand it. Technically, you are supposed to let it cool completely, but everyone knows that warm bread fresh from the oven is like heaven in your mouth. If you do need to eat it right away, try to let it cool at least for 10 minutes. The one drawback of slicing your bread while it is warm is that the rest of the loaf might suffer in texture due to losing too much steam. But if you eat the whole loaf in one sitting, that won't be a problem.
 |
| Baked in a buttered one quart pyrex dish |
The beauty of this method is that you can bake fresh bread every day or every other day. You should get three to four loaves out of each batch. Because this is homemade and has no preservatives, the bread is best in the first few days after baking. But the raw dough lasts for up to 14 days in the fridge (according to the creator of this method. I have never kept it that long). One time K and I thought it would be good to bake a huge loaf, so we put half the batch in one loaf pan. This was fine, but the loaf lasted us a week and at the end of the week the bread, although still fine, was not as delicious as it was at the beginning of the week. We decided it was better to bake smaller loaves more often so that we could enjoy the major benefit of this method - freshly baked bread.
 |
| The mega-loaf |
The other benefit of this is cost. According to Alexandra's Kitchen, this homemade bread costs about .60 cents per loaf, vs four or five dollars to buy a similar loaf at a bakery or market. And the time it takes to mix up a batch is less than it would take to run to the store to pick up a loaf. Not only that, but your bread isn't full of preservatives and chemicals. So - easy, cheap, better for you (as bread goes). What are you waiting for?
 |
| Fresh bread, butter and goat cheese. |


4 comments:
Wanted to let you know I'm trying the bread today. Very excited!! Going to serve it with soup for dinner! :)
Ooh, Yay! Let me know how it turned out!
I'm going to try this...I'll report back on whether it was a complete flop or not.
Do you have different ovens over there? Alisha had to make some tweaks since the ovens in Japan are different than here. I think she baked at a lower temp, but you should ask her.
Post a Comment